In the digital age of 2024, managing a deluge of paperwork can still be a daunting task for many. With bills, receipts, and various documents cluttering desks and digital desktops alike, finding a foolproof system on how to organize bills, receipts, and documents is more crucial than ever.
Whether you’re a busy professional, a diligent student, or managing a bustling household, the need for an efficient paperwork management system is universal. This guide is meticulously crafted to provide you with innovative filing solutions.
In this guide, you’ll uncover:
- Techniques to efficiently categorize and store your physical and digital documents, saving you time and reducing stress.
- Tips for creating an organizational system that not only works for today but is scalable for the future.
Understanding the Paper Clutter Problem
Before we dive into solutions, it’s important to understand why a pile of bills, receipts, and documents becomes a problem in the first place. The main reasons we accumulate paper clutter are:
- Mail and Junk Mail: We receive mail and junk mail regularly. Instead of immediately recycling or actioning these, we often set them aside, causing an accumulation over time.
- Children’s School Papers: If you have school-going children, you’re likely to have a regular inflow of homework, artwork, and other school-related papers.
- Personal Documents: We all have personal documents like contracts, medical papers, bank statements, warranties, and other administrative documents that we need to keep.
- Sentimental Papers: These include items like journals, ticket stubs, greeting cards, and other memorabilia which we hold onto for emotional reasons.


Understanding these sources of paper clutter can help us devise strategies to manage and minimize them. Take this quiz to understand your organizational level based on your Goals, Time management, Actions & Attitude. Let’s come up with a plan in the next section.
Creating a Plan
Creating a decluttering plan is an essential step toward achieving a clutter-free and organized home. This plan serves as a roadmap, guiding you through the process of sorting, categorizing, and eventually discarding or digitizing documents that no longer serve a purpose. Here’s how to create an effective decluttering plan:
1. Identify Your Goals:
- Reflect on what’s important to you and what you aim to achieve through decluttering.
- Make a comprehensive list of every area in your home that requires attention, prioritizing them based on urgency or ease of decluttering.
2. Organize Your Approach:
- Designate boxes or bins for different categories of clutter, and label them accordingly. You can learn more about the different types of categories you can create in the next section.
- Break down larger tasks into smaller, more manageable ones to avoid feeling overwhelmed. This could involve tackling one room, or even just one drawer at a time.
3. Commit to the Process
- Schedule regular decluttering sessions in your calendar, treating them as important appointments with yourself.
- Embrace anti-clutter habits moving forward, such as immediately dealing with mail or digital documents, to prevent future accumulation.
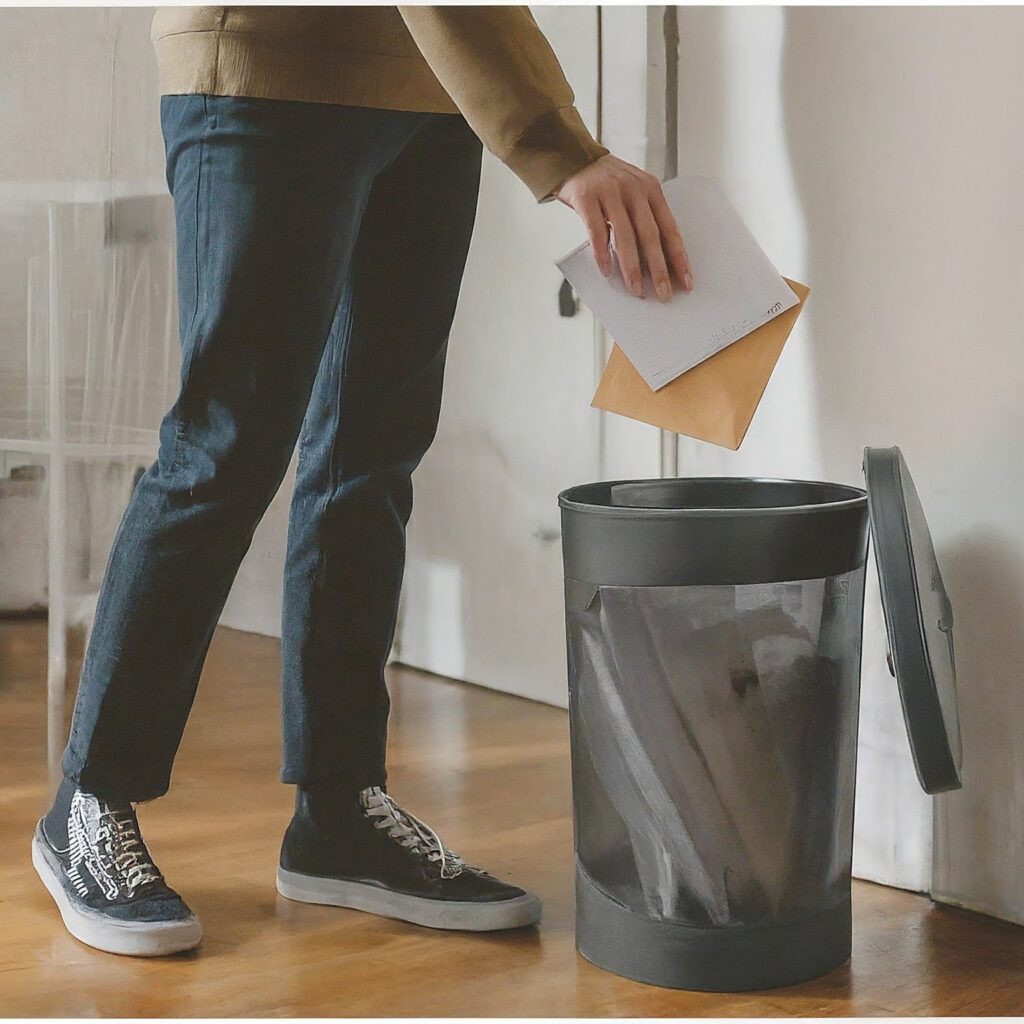
Tip – Immediate Action
Regularly sorting mail as it arrives curbs paper buildup, meaning you’ll sort through less mail over time. Immediate sorting will help develop a routine, making decluttering a natural and frequent activity. Remember, dealing with mail promptly avoids the need for time-consuming, large-scale decluttering sessions later on.
- Sort incoming papers into three piles: recycle, trash, and shred.
- Immediately recycle/trash papers you don’t want and shred personal or sensitive documents.

Create an Organizational System for Your Paperwork
Now that you’ve a decluttering plan that identifies your goal, the next step is to create an effective organizational system that you can use regularly and modify it according to your needs.
Start by gathering all your paperwork in one spot. This step might initially feel overwhelming due to the sheer volume of paperwork that can accumulate over time, whether it’s bills, receipts, tax documents, insurance policies, or personal letters but it is a crucial step.
After gathering all your documents in a single spot, consider the following organizational system:
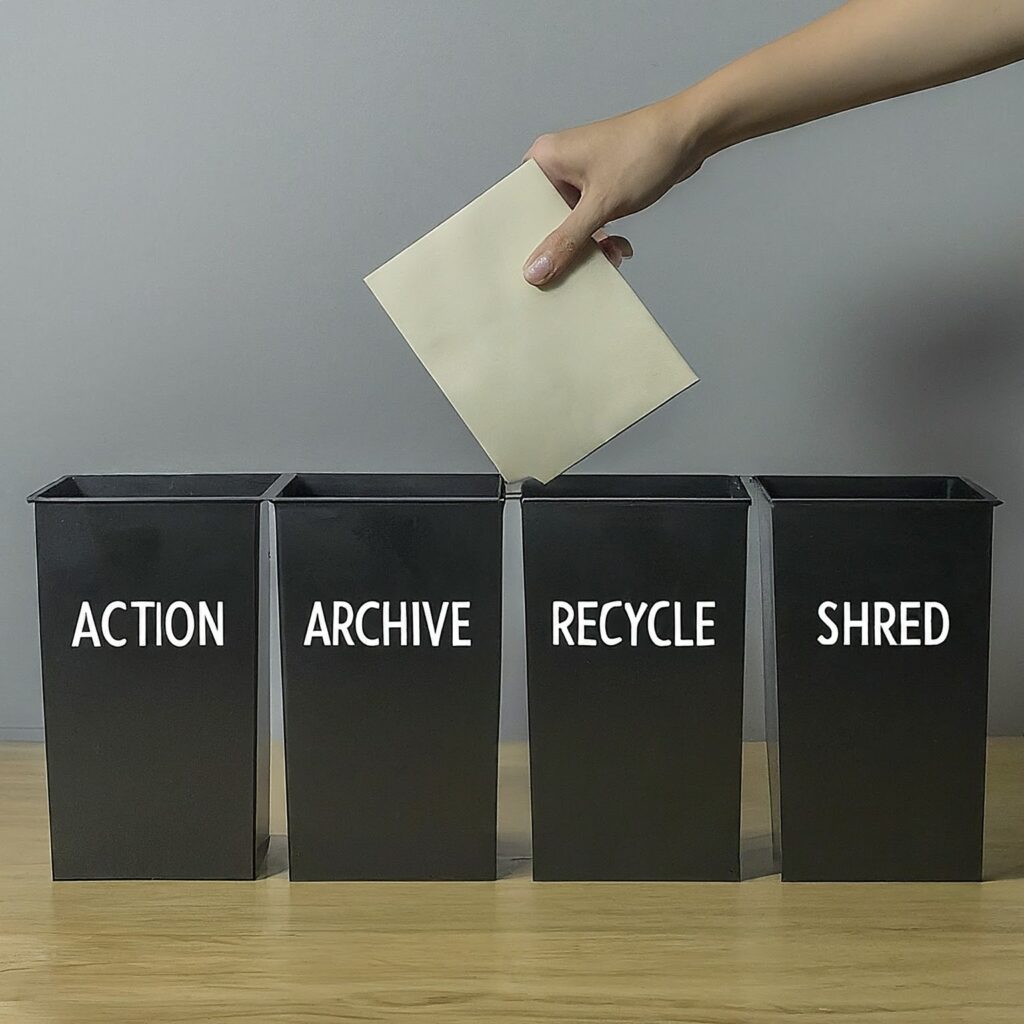
Step 1: Declutter Your Bills, Receipts, And Documents
Before organizing, sift through your current paperwork to identify what’s essential. Categorize the pile into these 4 sections:
- Action: Under the ‘Action’ category, sort items that need immediate or near-future responses. Also called as ‘Active’ papers.
- Archive: The ‘Archive’ section is for documents that don’t require action but are important for long-term storage, like legal documents or contracts. Also called as ‘Inactive’ papers.
- Recycle: This category is for documents that are no longer necessary and can be disposed of without shredding.
- Shred: Place all sensitive materials that need to be destroyed to protect your identity and privacy in ‘Shred’.
It could be difficult to decide what to keep and what to discard, ask yourself these questions to help:
- Has this paper already served its purpose?
- Do I still need to take action on it?
- Is this information important to me?
- Is there a digital copy of this document?
- Are there multiple copies of the same document?
- Are there out-of-date documents?
- Can I find this information online if I need it again?
- Will I need this paper in the future?
Explore our in-depth guide to Planning, Purging, and Storing for a clutter-free space here.
Step 2: Categorize Your Bills, Receipts, And Documents
Once you’ve decluttered and sorted out the documents you need to keep, it’s time to organize them into categories. This step simplifies finding documents later and keeps your space tidy. Typical categories might be:
- Financial Records: Bank statements, invoices, tax documents.
- Personal Identification: Passports, driver’s licenses, Aadhar cards.
- Home and Property: Mortgage papers, lease agreements, home insurance.
- Medical Records: Health insurance documents, medical history, prescriptions.
- Work and Education: Employment contracts, certificates, resumes.
- Miscellaneous: Warranties and Manuals, Membership Information, Personal Notes and Correspondence.
Tip: For a more refined organizational system, consider sub-categorizing your documents by associating them with specific individuals involved like your parents, spouse, children, etc. Example: In a household with multiple individuals with educational records, you can create a separate folder for each person. This personalized approach to categorization ensures that you can retrieve any document related to a person without sifting through a generalized category.

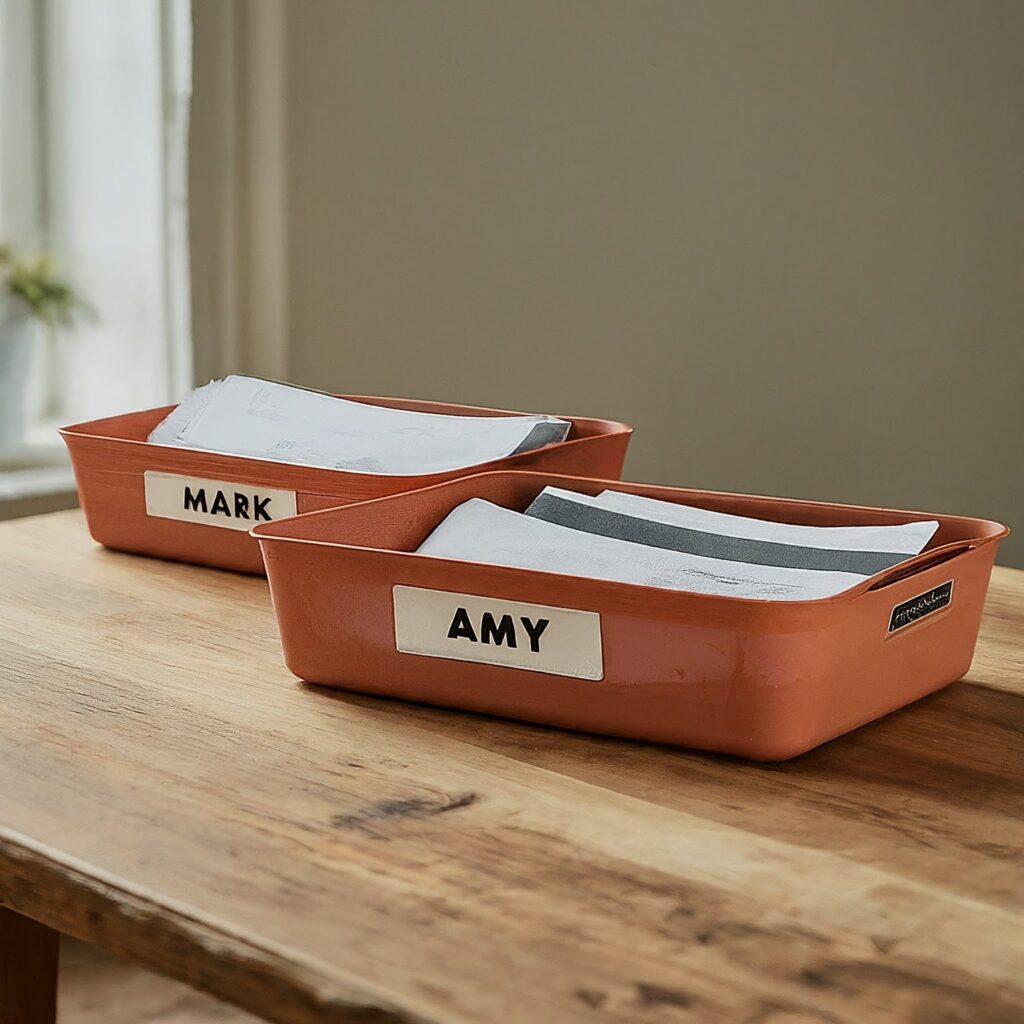
By sorting your documents into such categories, you’ll streamline your filing system and enhance your productivity when searching for specific paperwork.
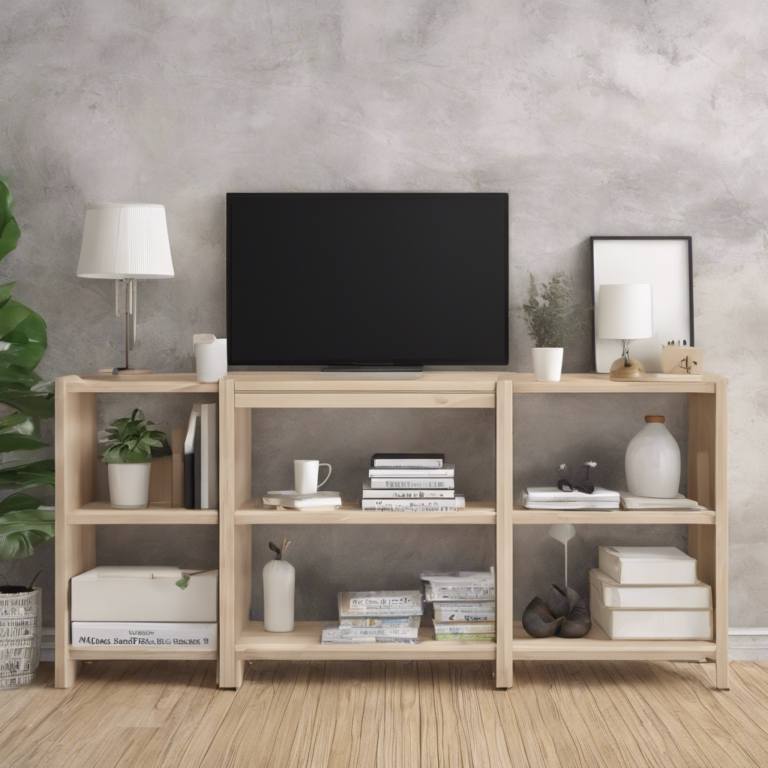
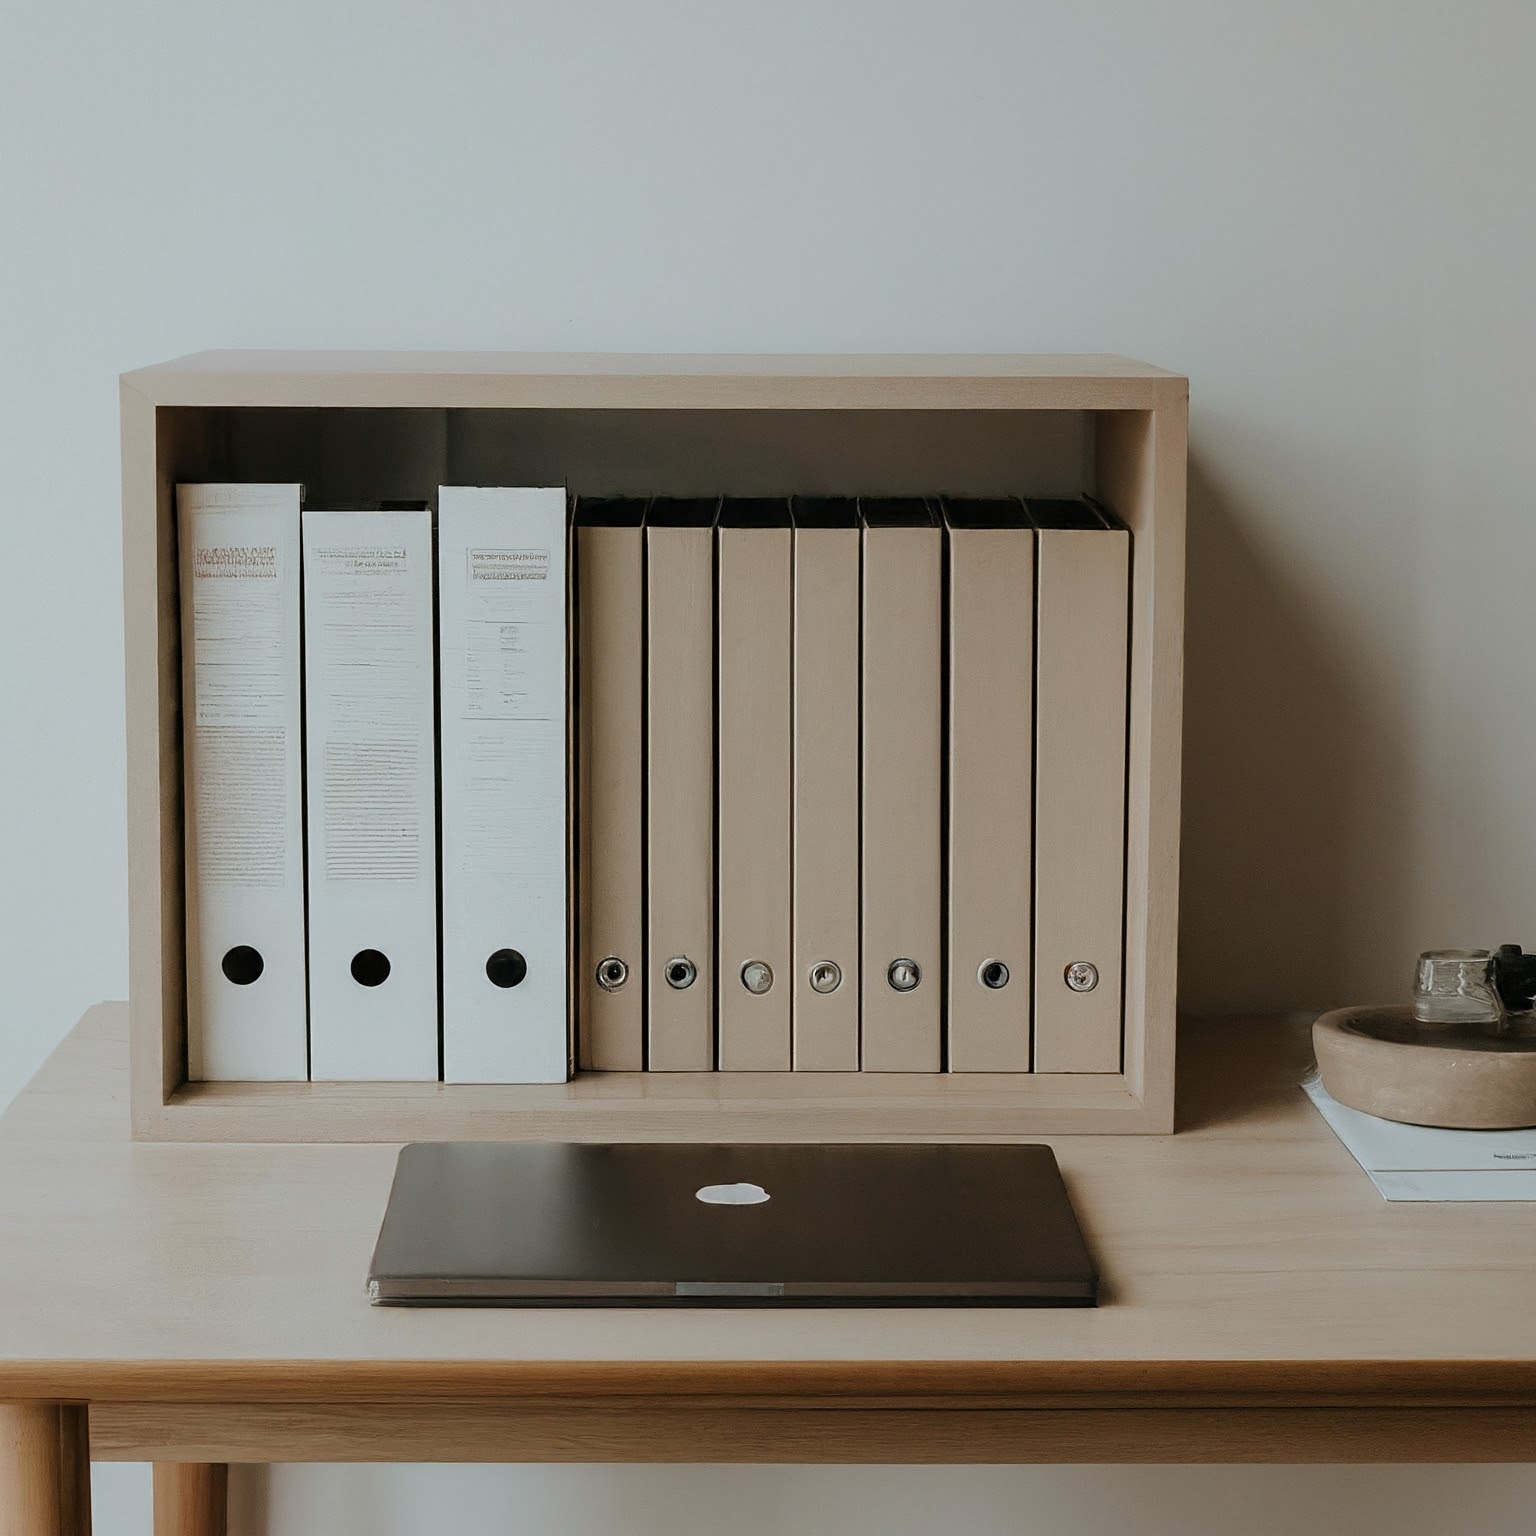
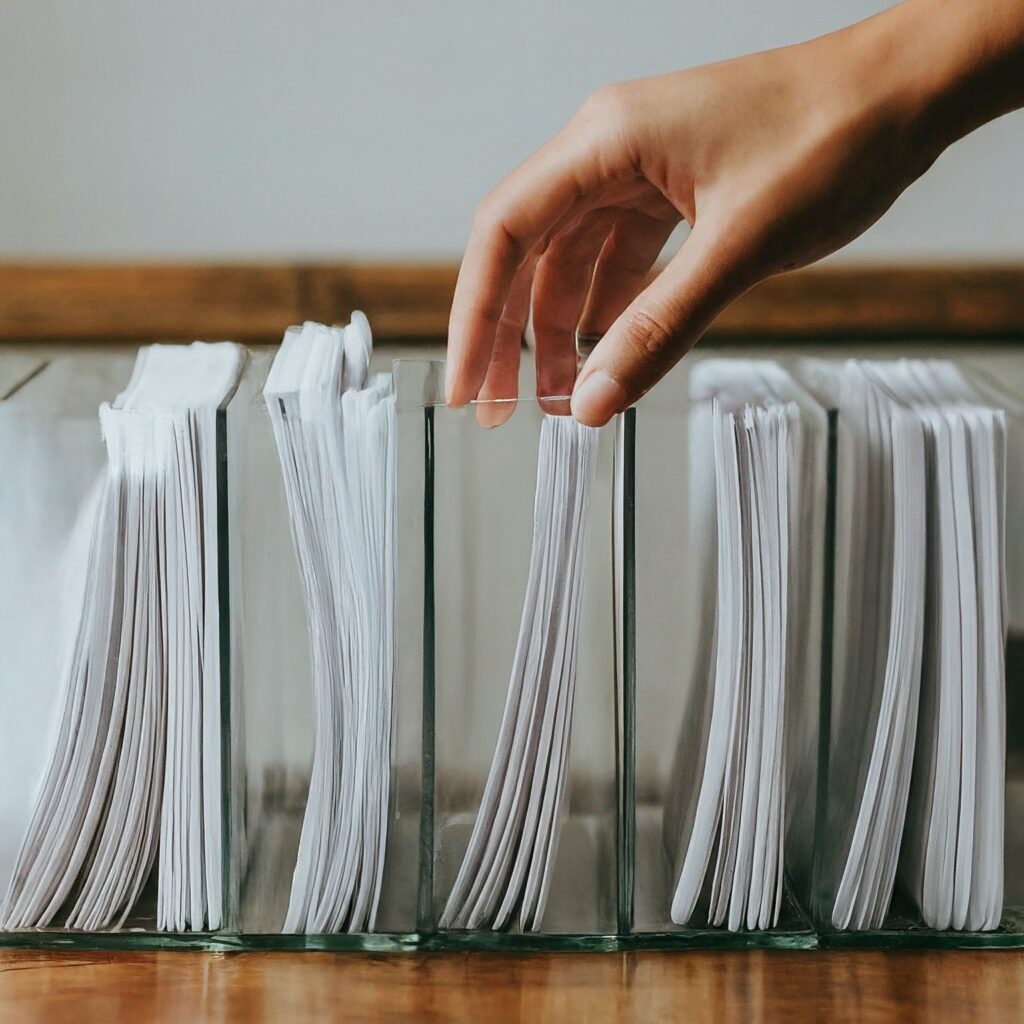
Step 3: Choose Your Organizational Tools
Select the tools that best fit your needs and space. Options include:
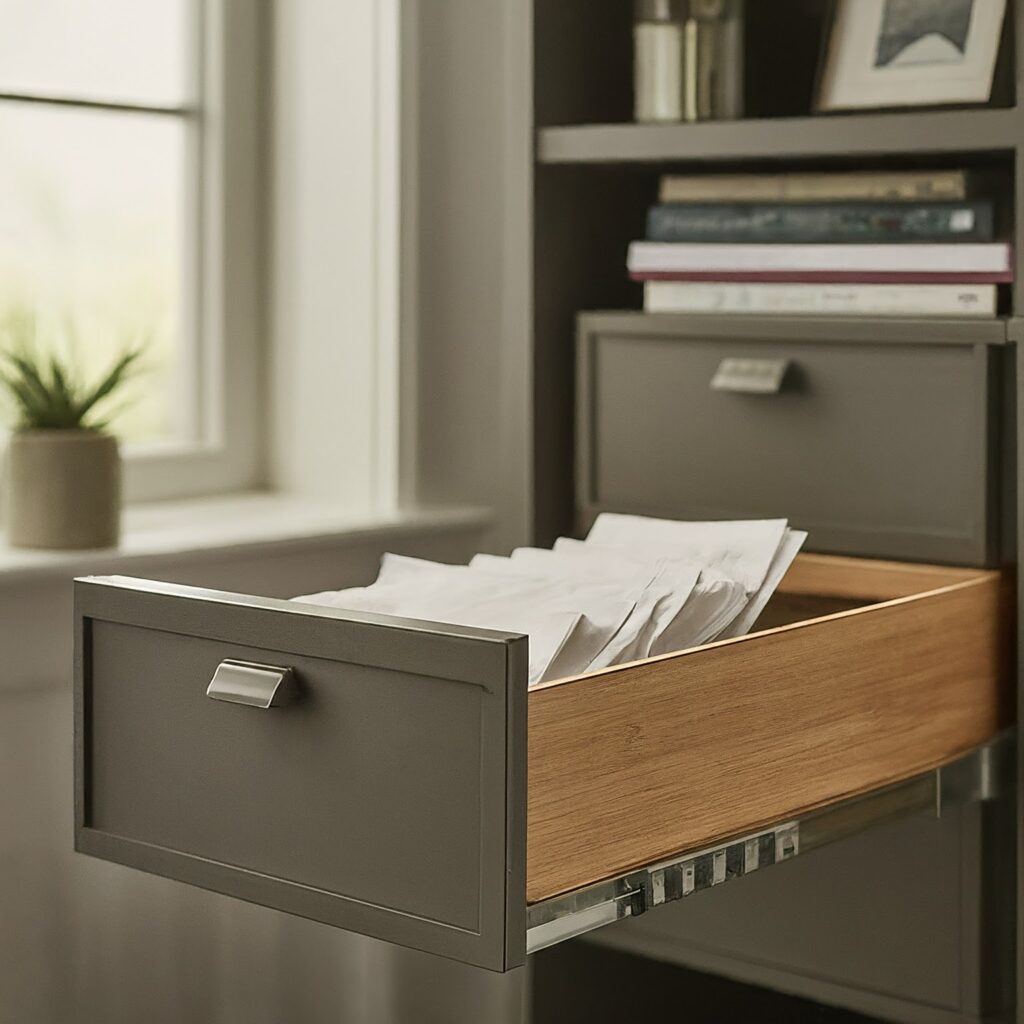
- Filing Cabinets: Ideal for extensive collections of documents.
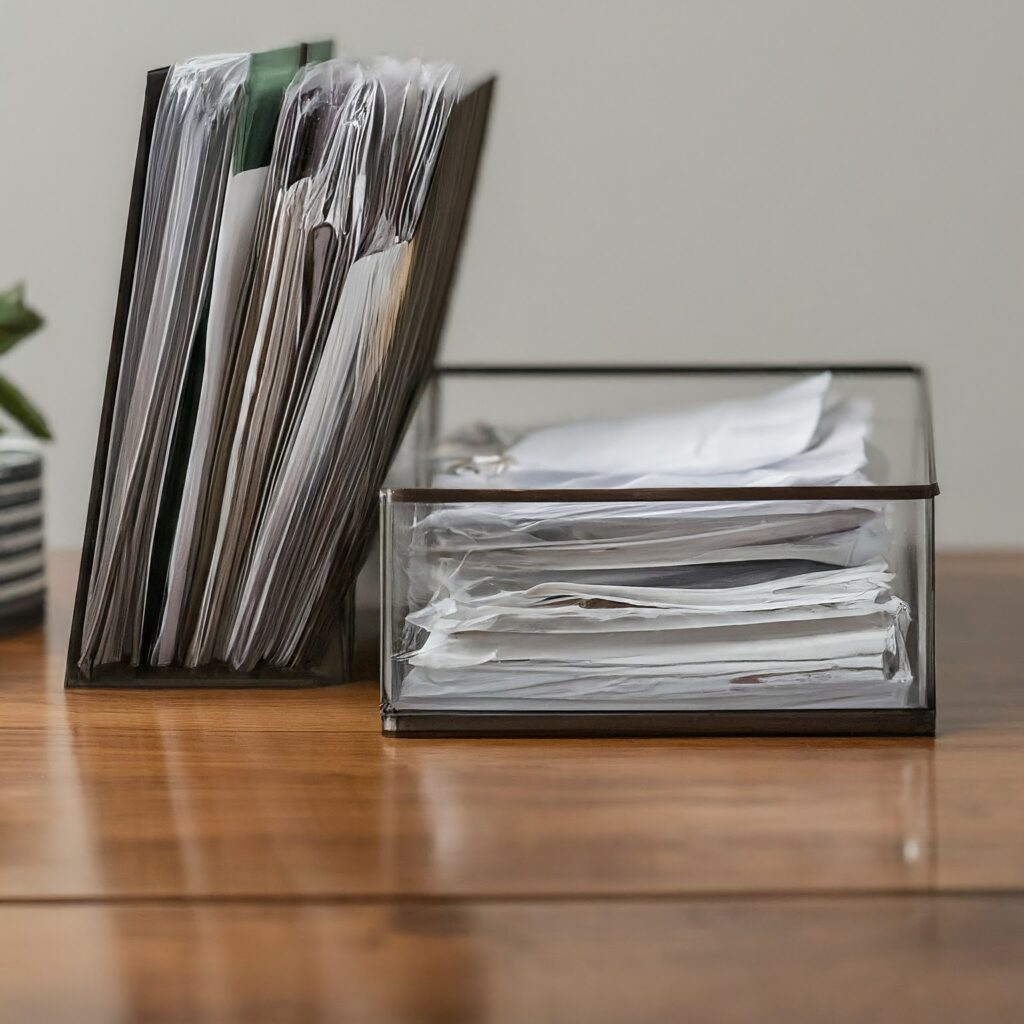
- Desk Organizers: Great for items you need frequent access to.
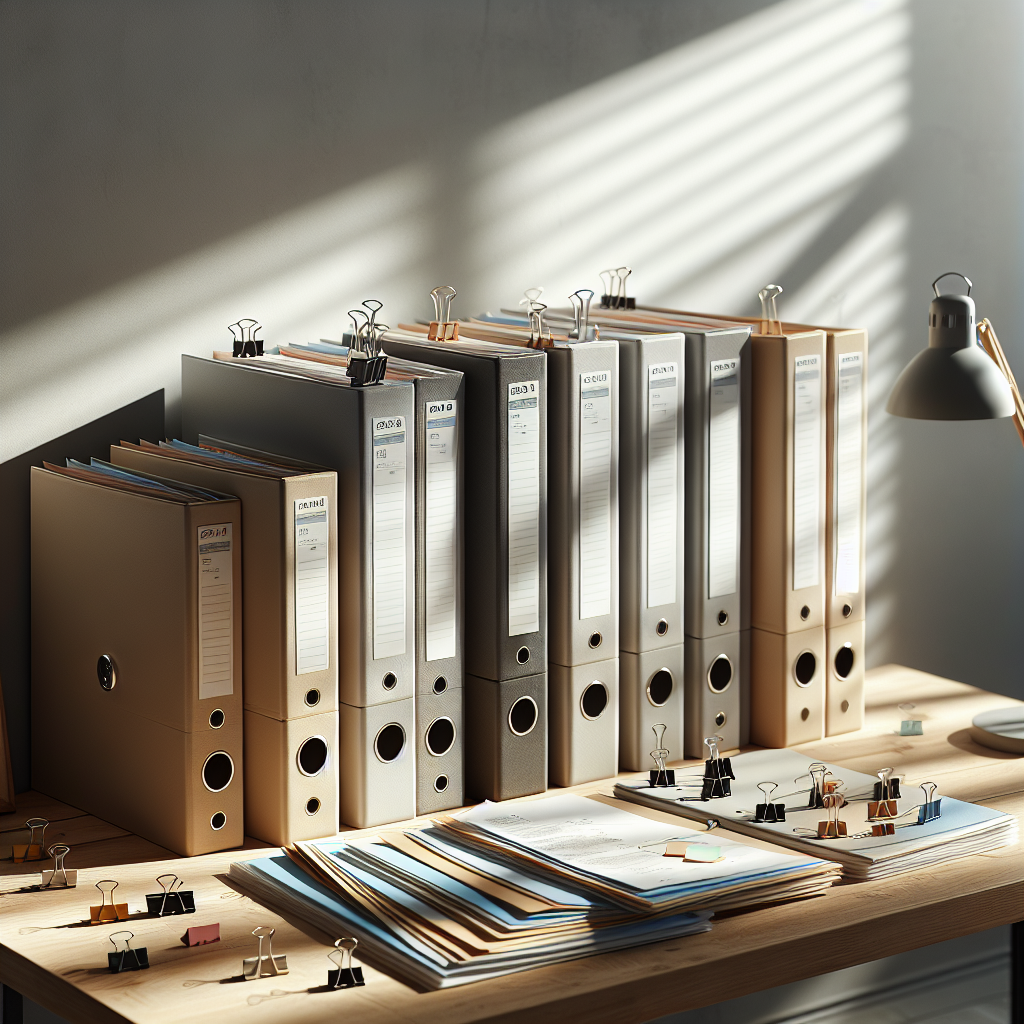
- Binders: Perfect for categorizing different types of documents.
- Digital Storage: For those who prefer a paperless approach, scanning documents and storing them digitally can be a space-saving solution.
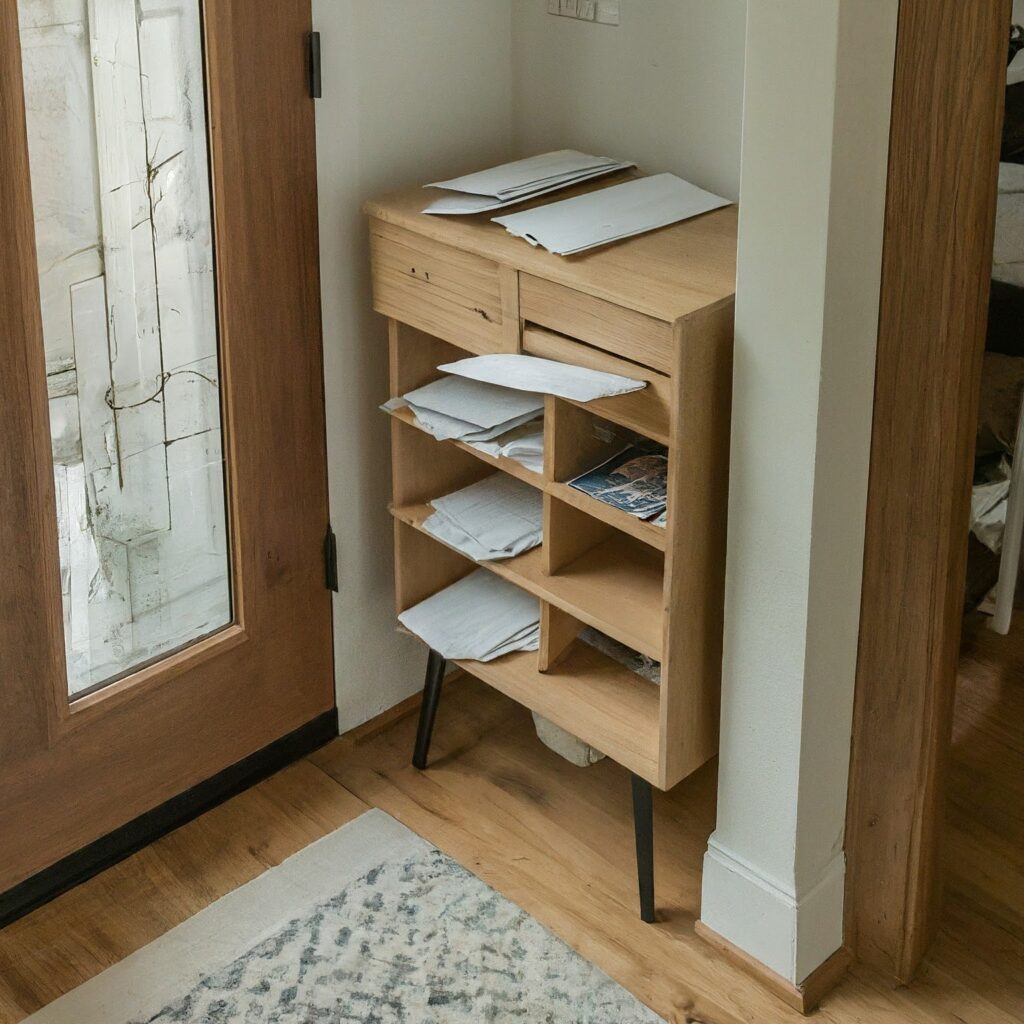
Step 4: Arrange Documents Within Organizational Tools
Once you’ve selected your organizational tools, it’s crucial to establish a system for arranging your documents within them. This will make finding what you need a breeze!
Remember: Keep your workspace clear by establishing a specific location for bills, receipts, or documents requiring immediate attention. This could be a dedicated tray, file, inbox, or even a designated corner of your desk. The key is to have a system that keeps these essential items close at hand without cluttering your work surface.
Here are some methods you can use, depending on your chosen tool:
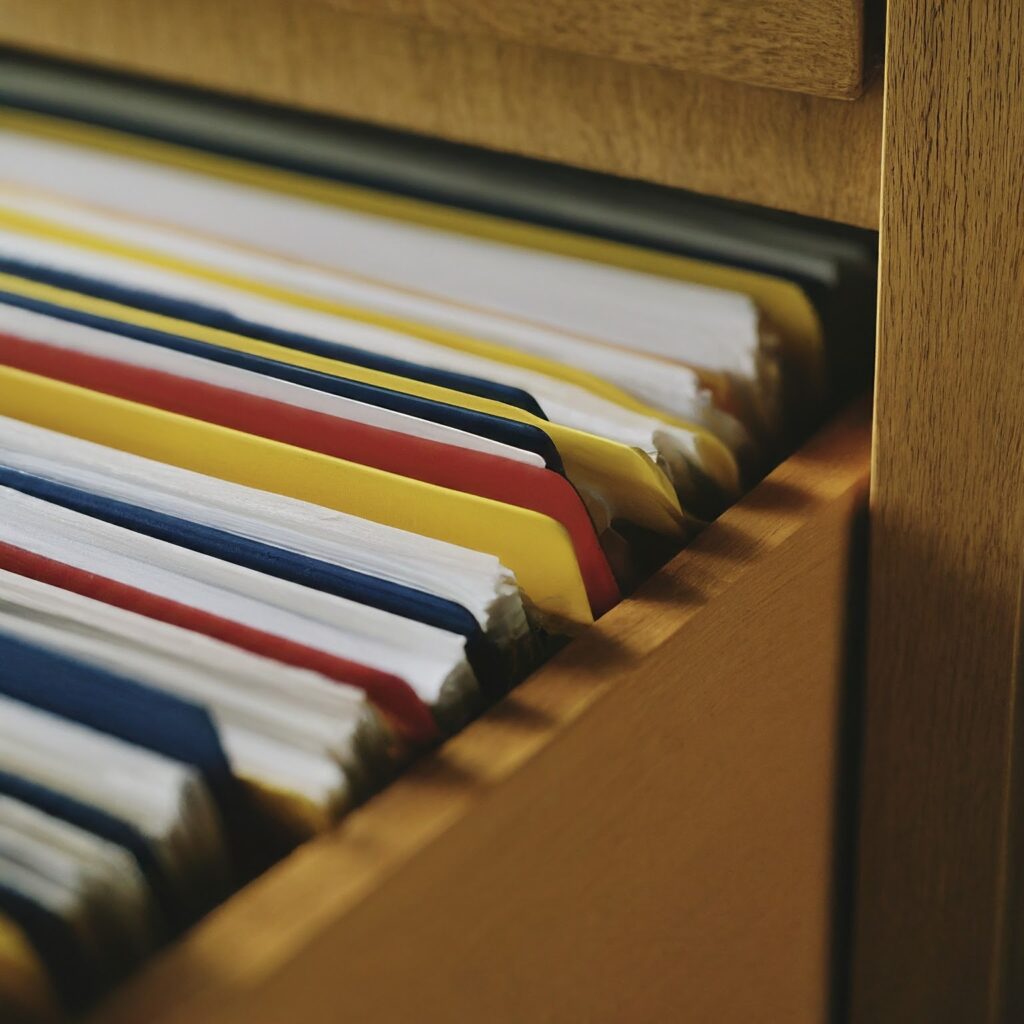
Filing Cabinets & Binders:
- Categorical Organization:
This is the most common method. Create folders or binder sections based on broad categories like “Bills,” “Insurance,” “Medical Records,” “Taxes,” “Warranties & Manuals,” and “Personal Documents.” - Alphabetical Organization Within Categories: Within each category, further organize documents alphabetically by company name, recipient name, or document type (e.g., “Electricity Bill,” “Car Insurance”).
- Date-Based Organization: For some categories like bills or receipts, consider filing chronologically (newest on top) for easy access to the most recent information.
Tip: Undated documents can be organized based on their importance or frequency of use.
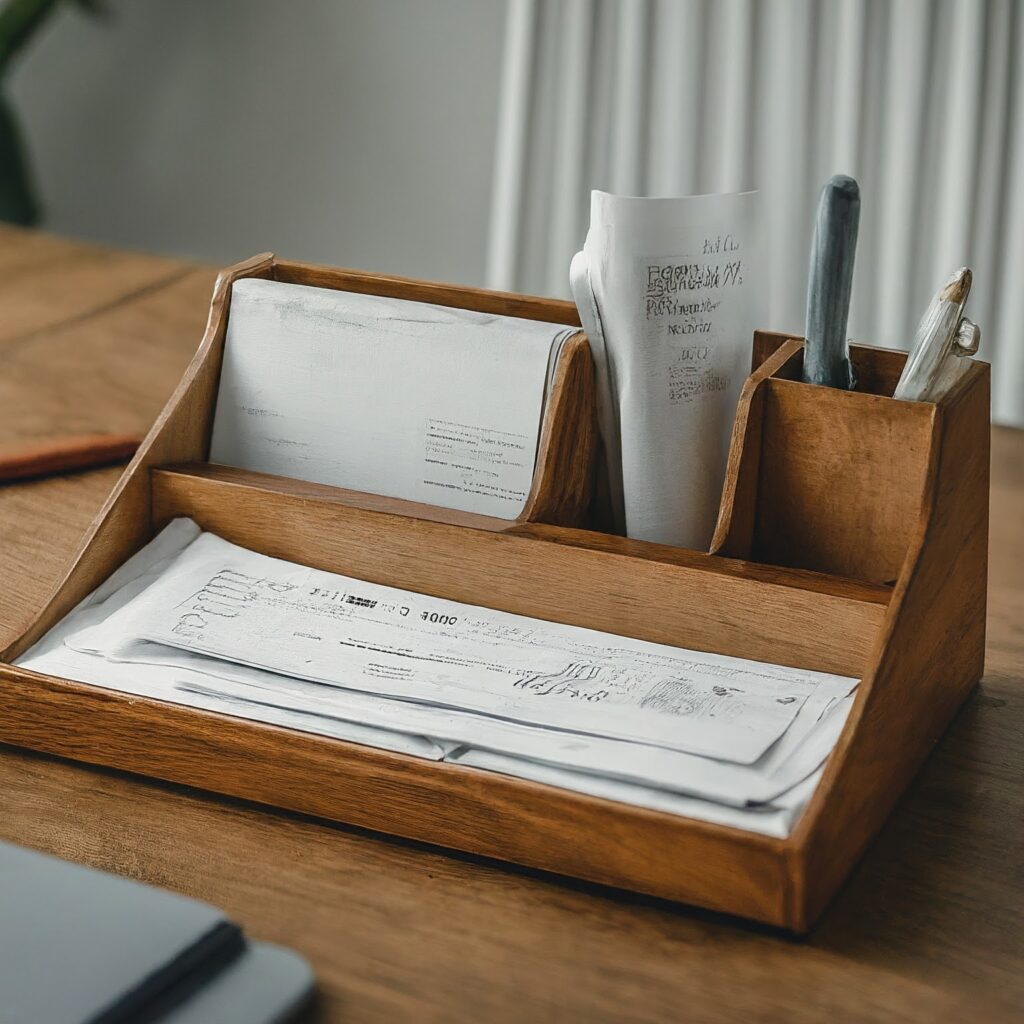
Desk Organizers:
- Frequency of Use: Place frequently accessed documents (like ongoing bills or reference materials) in the most accessible compartments. Less frequently used documents can go in drawers or back compartments.
- Project-Based Organization: If you use your desk organizer for ongoing projects, dedicate compartments to each project with its related documents.
- Type of Document: Organize by document type, such as a compartment for notes, to-do lists, receipts, or specific forms.
Binder Tabs & Dividers
- Utilize binder dividers with clear labels to designate each category. You can further sub-divide categories using sheet protectors with labeled tabs within the main category section.
Digital Storage:
- Folder Structure:
Mimic the folder structure you might use with physical files. Create main folders for categories and subfolders for further breakdown. - File Naming Conventions: Use clear and descriptive file names that include the document type, date, and any relevant keywords (e.g., “2024_Car_Insurance_Policy.pdf”).
- Tagging: Many digital storage platforms allow tagging files with keywords. This makes searching for specific documents much faster.
Remember: The best system is the one that works for you! Choose a method that feels intuitive and allows you to easily locate documents when needed.
Additional Tips:
- Color-Coding: Assign colors to different categories or types of documents. For example, use blue for financial records, red for medical documents, etc. Color coding can be implemented by using different colored files, name tags.
- Consistency: Whichever system you choose, maintain it consistently across all categories to prevent confusion.
- Review Regularly: Every few months, go through your systems to remove outdated documents and ensure everything is in its correct place.
Step 5: Label Everything
Now that you’ve chosen your organizational tools and established a filing system, labeling becomes the key to maintaining your newfound order. Here’s how to create a clear and consistent labeling method that works for you:
Physical Files & Binders:
- Standardization is Key: Choose a labeling format that you can consistently apply across all your folders and binders. This could be as simple as a Category Name (e.g., “Insurance”) or a more detailed approach like “Category – Subcategory – Date” (e.g., “Insurance – Car – 2024 Policy”).
- Label Maker Magic: Invest in a label maker for a clean and professional look. Pre-printed labels are also an option, but ensure they’re compatible with your chosen filing system.
- Handwritten is Okay Too: If a label maker isn’t in your budget, clear and legible handwriting works just fine.
Digital Storage:
- Descriptive File Names: Craft file names that clearly describe the document’s content. Include keywords like the document type, date, and any relevant details (e.g., “2024_Electricity_Bill_June.pdf” or “Passport_Renewal_Application_Sarah_Lee.docx”).
- Folder Hierarchy: Utilize a clear folder structure that mirrors your physical filing system, if applicable. This makes transitioning between digital and physical documents seamless.
- Tagging Power: Many digital storage platforms allow adding tags to files. Utilize this feature to categorize documents with relevant keywords for even faster searching.
Remember: When labeling your files, prioritize clarity that anyone in your household (or someone close) can understand. This is especially important for emergencies when you might not be available to explain the filing system.
Step 6: Create a Maintenance Routine
Maintaining a clutter-free space goes beyond just organizing; it’s about creating a system that keeps things tidy over time. Here’s how to build that system:
1. Schedule Sanity:
- Monthly Declutter Dates: Dedicate time each month to review and organize documents. This prevents paper piles from building up.
- Ergonomic Oasis: Set up an ergonomic workspace with adjustable furniture. Proper positioning of keyboards, mouse, and monitors keeps you comfortable and focused, reducing the urge to create clutter with makeshift solutions.

2. Smart Storage Solutions:
- Container Champions: Utilize lidded file boxes, built-in shelves, and desktop organizers for efficient document storage. This keeps everything contained and prevents clutter from spreading.
- Actionable Allocation: Designate specific slots within your organizers for different actions (e.g., “To Pay,” “To File”). This streamlines the filing process and makes it easier to stay on top of paperwork.
3. Digital Declutter Duo:
- Digital Detox: Embrace digital decluttering! Organize files using built-in search tools and automate file management with tools like Zapier. This keeps your digital space organized and searchable.
- Regular Backups: Maintain your digital archives by regularly backing up important documents. This prevents overflow and ensures you can always find what you need.
By following these strategies, you can not only maintain a clutter-free space but also enhance your productivity and create a sense of calm in your environment.
Conclusion
This article has delved into the art of organizing home documents, highlighting the need for a system that’s both effective now and adaptable for the future to boost efficiency and peace at home. Key practices like sorting, categorizing, and digitizing have been stressed to help create a tidy, functional environment.
Consistent efforts and smart filing solutions are crucial for managing paperwork clutter. Document organization is about more than neatness – it’s about security and ease of access, contributing to a calm, productive living space. We encourage readers to apply these methods for lasting order and tranquility at home.