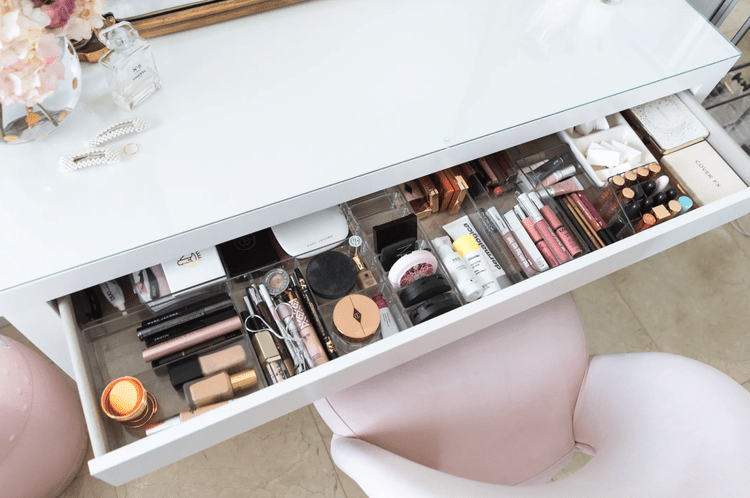
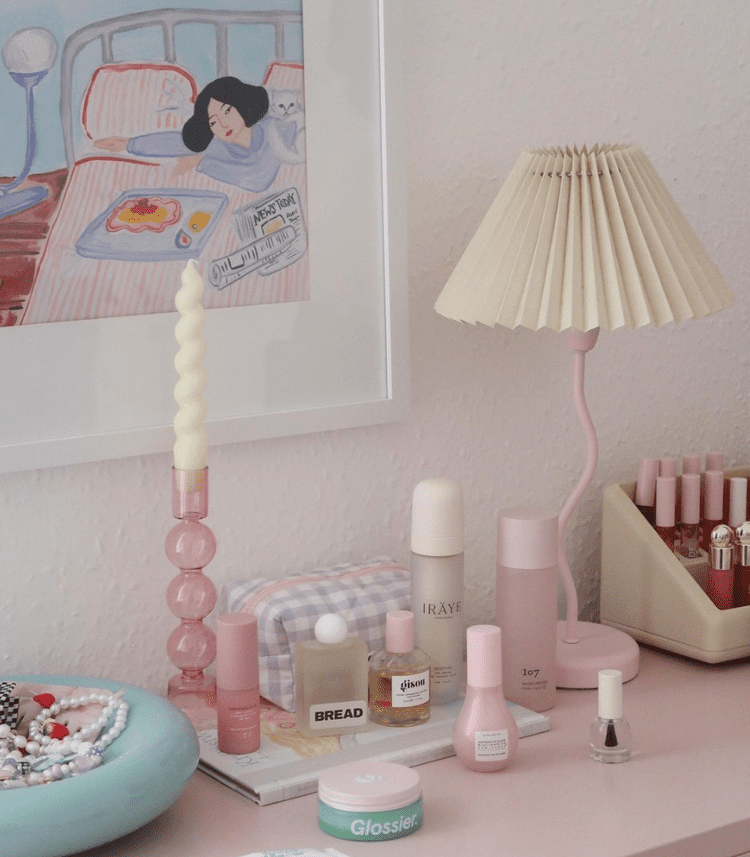
A cluttered Dressing Table is killing your productivity (and mood). We’ve all been there – you’re rushing to get out the door in the morning, frantically rummaging through the cluttered drawers and overflowing shelves of your dressing table, desperately searching for that one essential item you can’t seem to locate.
Whether it’s your favourite cologne, the perfect eyeshadow palette, or that elusive hair product, the stress of not being able to find what you need can instantly sour your mood and set a frantic tone for the rest of the day.
In this blog post, we’re going to share top tips for transforming your dressing table into a serene, streamlined space that makes self-care, or grooming routine a pleasure, not a stressor.
As Barbara Hemphill wisely said, “Clutter is nothing more than postponed decisions.” Let’s start making those decisions and transform your dressing table!
Step 1: Declutter
The first and most crucial step in organizing your dressing table is decluttering. Here’s how to tackle this task effectively:
1. Clear the Space: Remove everything from your dressing table and place it in front of you. This allows you to see the volume of your items and makes the next steps easier.
2. Sort and Purge: Go through each item and decide whether to keep, donate, or discard it. Be ruthless with:
- Expired makeup and skincare products
- Damaged or rarely used items
- Duplicate products
Remember: If you haven’t used a product in over 3 months, its time to let it go!
3. Clean Thoroughly: With everything removed, take this opportunity to give your dressing table a good cleaning. Dust, wipe down surfaces, and vacuum any drawers.

Tip: Create a “Neutral Zone” – Designate an area near your dressing table as a “neutral zone” for items you don’t use daily. This helps keep your main space clutter-free while allowing easy access when needed.
Bonus Tip: Utilize anti-slip mats as drawer inserts to keep the drawer clean. They also prevent your drawer organisers from moving every time you open or close it.
Step 2: Categorise Your Items
After the initial decluttering, many people find themselves staring at a mountain of items, overwhelmed by the prospect of organizing them. If you’ve ever felt this way, you’re not alone. The art of categorization can be deceptively challenging, often leading to decision fatigue and, in some cases, abandonment of the entire organization project.
The struggle often stems from:
1. Emotional Attachment: It’s hard to be objective about items we’ve held onto for years.
2. Lack of Clear System: Without a structured approach, categorization can feel arbitrary and ineffective.
3. Fear of Inaccessibility: Worry that categorizing might make certain items hard to find when needed.
4. Multifunctional Items: Some products don’t fit neatly into a single category.
These challenges can make the categorization process feel daunting. However, having a clear, systematic approach can transform this step from a headache into a satisfying and effective part of your organization journey.
Solution : ABCD Method
To tackle these challenges, we introduce the ABCD Method of Categorization. This system provides a clear framework for sorting your items, making decisions easier and more logical.
Here’s how it works:
A – Always Used: These are your daily essentials. Think of items you use every single day without fail. Examples include: your go-to skincare, daily wear cologne or perfume, everyday jewellery or watch, hair styling products you use each morning.
B – Beneficial but not daily: Items in this category are used regularly, but not necessarily every day. They might include: weekly deep conditioning hair treatments, your favourite aftershave for special occasions, makeup items for evenings out, accessories worn a few times a week.
C – Circumstantial: These items are used infrequently or for specific situations. This category might contain: seasonal skincare products (e.g., heavy winter moisturizers), special event makeup or grooming items, travel-sized toiletries, holiday-specific accessories.
D – Doubtful: This category is for items you’re unsure about. Perhaps you haven’t used them in a while, or you’re not certain if they still suit your needs. Examples could be: that face mask you bought but never tried, accessories that no longer match your style, products you’re unsure if you’ll use again.
Pro Tip: When categorizing, be honest with yourself. If you’re unsure about an item, it’s likely a “D”. You can always reassess these items later.
Implementing the ABCD Method
1. Start with Clear Containers: Label four containers or areas with A, B, C, and D.
2. Quick Decisions: As you pick up each item, make a quick decision about which category it belongs in. Don’t overthink it!
3. Review: Once everything is categorized, review each group. Does everything in “A” truly get used daily? Are there any “B” items that could actually be “C” or “D”?
4. Storage Strategy:
“A” items should be the most accessible, typically on your countertop or in easy-reach drawers.
“B” items can be in slightly less accessible spots but still within reach.
“C” items can be stored in less prime real estate, like higher shelves or back of drawers.
“D” items should be put in a box with a date. If you haven’t used them in 3-6 months, it’s time to let them go.
By using the ABCD Method also helps you understand your usage patterns. This insight can be invaluable for future purchasing decisions and ongoing organization maintenance.
Remember, the goal isn’t perfection, but progress. As you practice this method, you’ll find it becomes second nature, making future organization tasks much smoother and less daunting.
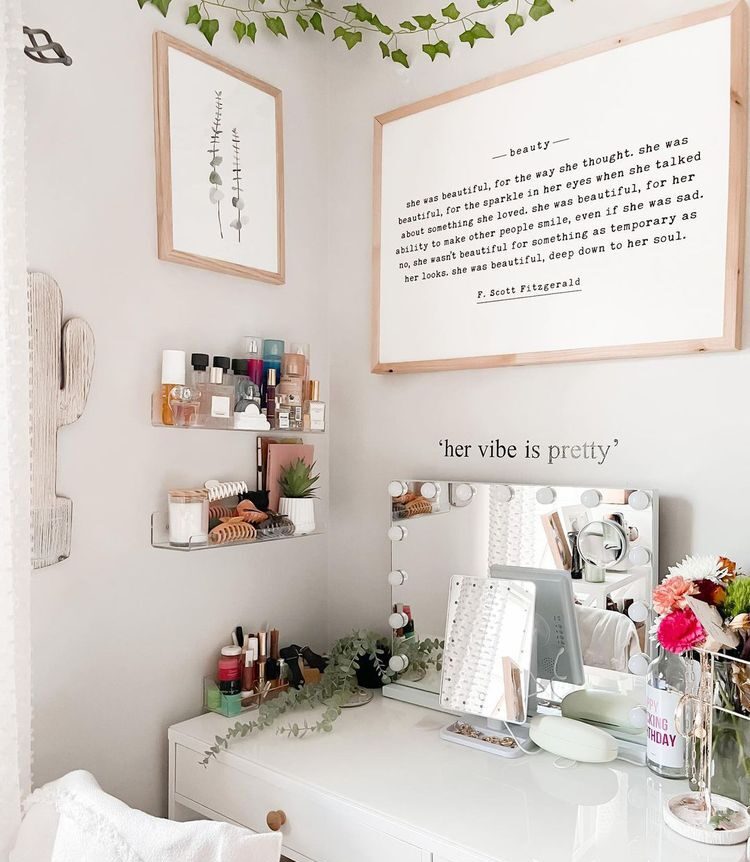
Step 3: Design Your Dressing Area
Now that you’ve decluttered and categorized your items, it’s time for the exciting part – designing a dressing area that’s not only organized but also a joy to use. This step is where functionality meets personal style, transforming your space into a daily retreat.
Understanding Your Space
Before diving into design, take a moment to assess your area:
- Measure Your Space: Know the dimensions you’re working with, including countertop area, drawer space, and any vertical space on walls.
- Identify Problem Areas: Was there a particular spot that always got cluttered before? Make note of these trouble zones.
- Consider Lighting: Natural light is ideal for grooming. If that’s limited, think about how you can improve lighting in your space.
Tip: Store items you don’t often use on the highest shelf (or part of the dresser that’s not easily accessible) of your dresser. This could be your extra stock or seasonal accessories.
Creating Zones
Think of your dressing area in distinct zones. This approach ensures everything has a place and streamlines your daily routine. Let’s break down each zone in detail:
- Prep Zone:
- Purpose: For skincare and pre-grooming activities
- Items: Cleansers, toners, moisturizers, serums, face masks
- Design Tip: Use a tiered organizer to display products by size, with frequently used items in front
- Grooming Zone:
- Purpose: For daily grooming essentials
- Items: Makeup, shaving supplies, hair products, deodorant
- Design Tip: Drawer dividers are crucial here. Assign each type of product its own compartment
- Example: For makeup users, consider a standing mirror with built-in storage for frequently used items
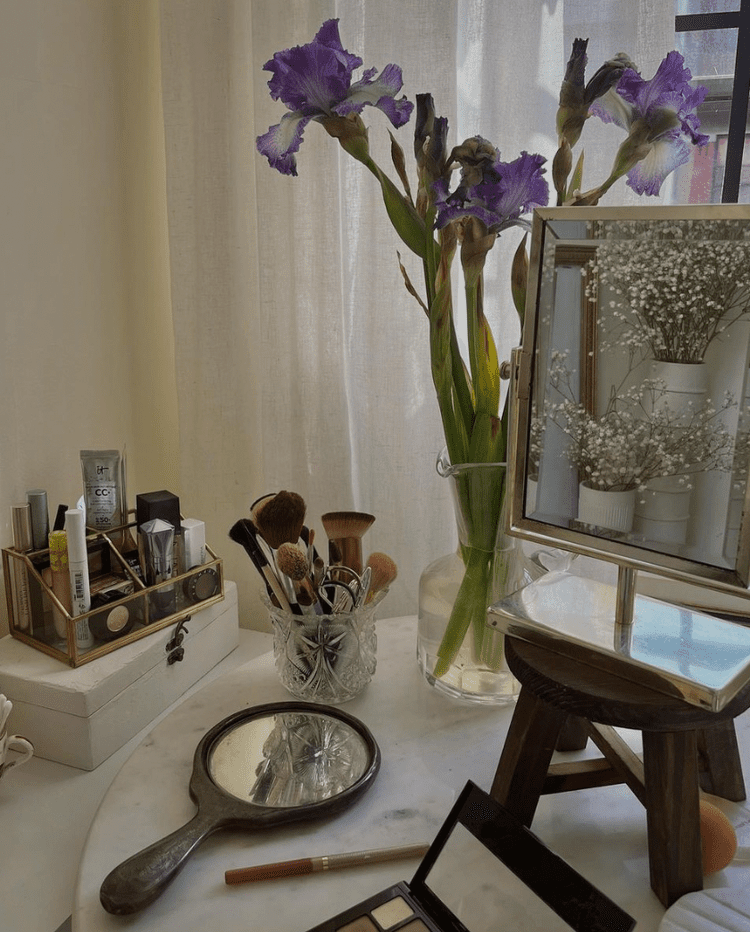
- Hair Zone:
- Purpose: For all hair-related tools and products
- Items: Brushes, combs, styling tools, hair ties, styling products
- Design Tip: Use a utensil holder or pretty mug for brushes and combs. Install hooks for hanging hair dryers or straighteners
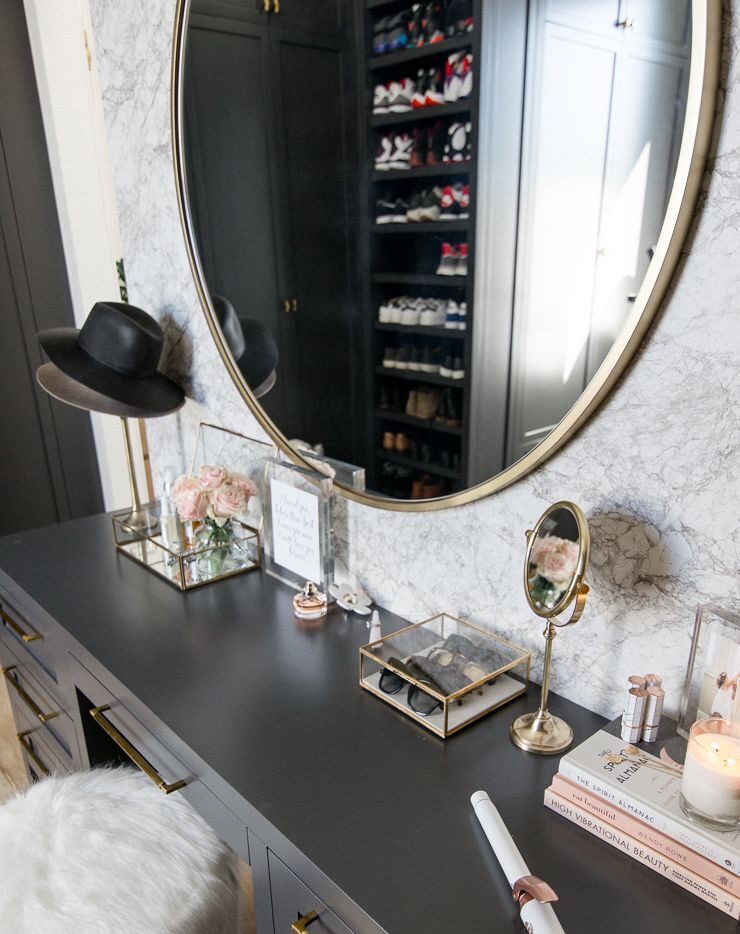
- Accessory Zone:
- Purpose: For jewelry, watches, and other accessories
- Items: Necklaces, earrings, bracelets, watches, cufflinks, ties
- Design Tip: Use a combination of dishes for small items, hooks for necklaces, and specialized storage for watches or sunglasses
- Example: A multi-tiered jewelry stand can be both functional and decorative
Remember: Accessibility is Key – Keep frequently used items within easy reach. This simple step saves time and reduces the hassle during your daily routine.
Innovative Storage Solutions
Now, let’s look at some creative ways to maximize your space:
- Vertical Space:
- Install floating shelves above your dressing table for items used less frequently
- Use adhesive hooks on the sides of your dressing table for hanging necklaces or ties
- Hidden Storage:
- If you have a mirror, consider one with hidden storage behind it
- Look for a stool or ottoman with interior storage for less frequently used items
- Drawer Organization:
- Use expandable drawer dividers to create custom compartments
- Try stackable acrylic organizers for a clean, visible storage solution
- Repurposed Items:
- Use pretty teacups or candle holders for storing small items like rings or cufflinks
- Repurpose a spice rack for holding small grooming products or perfume bottles
Some Innovative Storage Products
1. Magnetic Boards: Perfect for small metal items like tweezers or collar stays.
2. Lazy Susans: Ideal for skincare products, making everything easily accessible.
3. Watch Boxes: Great for organizing watches, cufflinks, and other small accessories. 4. Turntables: are excellent for deeper and smaller shelves, allowing you to easily reach items stored at the back. 5. Repurposed Items: Use mason jars for cotton swabs or drawer dividers for organizing grooming tools. 6. Cabinet risers: come in handy if you have tall compartments in your dressing table. They allow you to utilize the space more efficiently and store more items. 7.Trinket trays: are excellent for storing everyday items like earrings, watches, and wallets on top of your dressing table. 8.Baskets or bins: are perfect for storing hair tools, while heavy jewellery should be stored properly in boxes rolled in cotton for protection.
Making It Work in Small Spaces
If you’re working with limited space, consider these ideas:
- Wall-Mounted Dressing Table: A floating shelf with a mirror above can serve as a compact dressing area
- Over-the-Door Solutions: Use over-the-door organizers for additional storage
- Multifunctional Furniture: Look for pieces that serve dual purposes, like a mirror that opens for storage
By thoughtfully designing your space with these zones and ideas in mind, you’re not just organizing – you’re creating a personal sanctuary that sets a positive tone for your day. Remember, the best design is one that works for you, so feel free to adjust and personalize as you go along.
Step 4: Maintenance
You’ve decluttered, categorized, and beautifully designed your dressing area. Now comes the real challenge: maintaining this order in the chaos of daily life. Let’s dive into strategies that will help you keep your space organized for the long term.
Reminder: Before we get into specific strategies, it’s crucial to adopt the right mindset. Maintenance isn’t a one-time task; it’s an ongoing process that becomes part of your daily routine.
Habits To Maintain Your Organized Dressing Table
1. Two-Minute Rule: The cornerstone of maintaining an organized dressing area is the Two-Minute Rule, popularized by productivity expert David Allen. Take Immediate Action – If a task takes less than two minutes to complete, do it immediately. Example : Putting your moisturizer back in its designated spot after use or hanging up your bathrobe instead of draping it over a chair.
2. Weekly The 10-Minute Tidy: Set aside 10 minutes each week (choose a consistent day and time) for a quick reset of your dressing area.
Here’s a simple checklist:
Return Strays: Put any misplaced items back where they belong.
Quick Clean: Wipe down surfaces and clean mirrors.
Restock: Refill any products that are running low (e.g., cotton pads, q-tips).
Reassess: Quickly scan your ‘A’ and ‘B’ categories from you ‘ABCD’ method. Is everything still in the right place?
3. Monthly Deep Dive: Once a month, schedule about 30 minutes for a more thorough maintenance session:
Drawer Check: Empty each drawer, wipe it out, and reassess the items before returning them.
Expiration Patrol: Check skincare and makeup products for expiration dates. Toss anything that’s past its prime.
Donation Box: Keep a small box for items you no longer use but are still in good condition. When it’s full, donate the contents.
Tool Maintenance: Clean makeup brushes, wash hair tools, and sanitize any other grooming tools.
Adjust Your System: Reflect on what’s working and what isn’t. Be willing to tweak your organization system as your needs change.
4. The Quarterly Quest: Every three months, coinciding with the change of seasons, perform a more substantial review of your dressing area:
Rotate Seasonal Items: Bring forward season-appropriate skincare, makeup, and accessories. Store off-season items in a less accessible place.
Refresh Your Look: This is a great time to reassess your style and grooming routine. Are there new products you want to try? Styles you want to experiment with?
Deep Clean: Move everything out and give your dressing area a thorough cleaning, including often-neglected spots like drawer tracks and the backs of mirrors.
Reimagine Your Space: Consider if your current setup is still serving you well. This is the perfect time for a mini-redesign if needed.
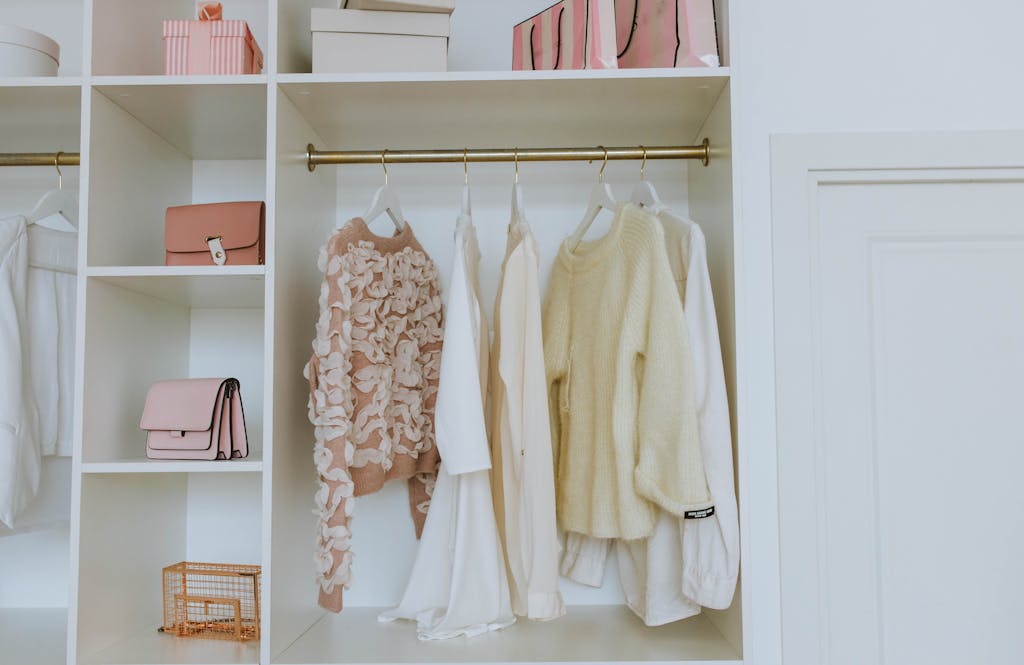
Tip: Use this time to also review your wardrobe. In fact, any grooming or accessory changes might need to be reflected in your clothing choices as well.
5. The One In, One Out Rule: To prevent your beautifully organized space from slowly becoming cluttered again, adopt the One In, One Out Rule:
For every new item you bring into your dressing area, remove one item.
This doesn’t have to be a direct swap (e.g., one lipstick for another). The goal is to maintain the overall volume of items.
Example: If you buy a new face serum, consider if there’s an old product you can remove – perhaps a toner you never really use or a face mask that didn’t work for your skin.
Tip: Use your phone’s reminder app to alert you for your weekly reset and monthly maintenance.
Dealing with Setbacks: The Forgiveness Factor
Despite your best efforts, there will be times when life gets hectic and your dressing area becomes a bit chaotic. That’s okay! The key is not to get discouraged. If you fall off the maintenance wagon, don’t wait for the next scheduled time. Take 5-10 minutes to reset as soon as you can.
Remember, progress isn’t linear. The goal is overall improvement, not perfection.
The Ripple Effect: Beyond the Dressing Area
As you master the art of dressing area organization, you might find this newfound orderliness spilling into other areas of your life. For example, many of our readers report increased productivity at work, less stress in the mornings, and even improved relationships as a result of carrying their organizational skills into shared spaces. Moreover, these benefits often extend beyond personal spaces, ultimately leading to a more balanced and efficient lifestyle.
Conclusion
Organising your dressing table might seem like a daunting task, but with the right approach and strategies, it can be quite simple. Not only does an organised dressing table improve the aesthetics of your bedroom, but it also streamlines your morning routine, making your day start off on the right foot. Remember, the key to maintaining an organised space lies in regular maintenance and a willingness to adapt to changing needs and preferences. So, why wait? Start organising your dressing table today!